Kyushu island Japan Autumn Tour Brochure 2023. Full details, price, photos and FAQ download here.

Come with us on a lovely forest walk in Sasaguri, Fukuoka Prefecture, on our wonderful island of Kyushu.
All the information you need to enjoy this short hike is written below. The walking directions and route photos are from December 2018. We hope they are easy to follow and allow you to enjoy this walk as much as we did.
If you have a question leave a comment at the bottom of this page.
Route description
The name of the walking route is “Yamato no Mori Yuhodo” (大和の森遊歩道). It passes through the ancient cedar forests of Sasaguri(篠栗). Five huge cedar trees are landmarks along the trail.
It took us about 2 1/2 hours to complete this circular route. We read that it takes only about 90 minutes but you would have to rush to finish so quickly. I guess we took a bit longer because we were taking photos along the way. Anyway, what’s the point to rush?
This trail goes quite steeply up and down in some places so isn’t suitable for people with limited mobility. However you don’t have to be an Olympic athlete. As long as you are of average fitness you won’t have a problem. I wouldn’t recommend hiking on this trail if it’s raining. The paths will get muddy and slippy in the steeper places.
What if I get lost?
If you lose your way, just make your way back to the starting point: Wakasugirakuen Camping Ground. In the description below we include the Google Map location. You shouldn’t have a problem getting 4G connection. You can ask someone for directions too. It isn’t a very busy route but I guess we met 10 to 20 people walking the same path. Just show them the Japanese for for Wakasugirakuen Camping Ground – 若杉楽園キャンプ場.
How to get to the starting point
The starting point is about 30 minutes by car from Fukuoka city. It’s a pleasant drive up into the hills along a steep and winding forest road. Unfortunately there isn’t any public transport nearby. You could cycle there but the ride would be steep like hell. We did see one tough cyclist but most people arrived by car or camper van.
About the route descriptions
We tried to make the instructions (with photos) as clear as possible. It’s specifically aimed at non-Japanese speakers because there are no maps or route guidance in English. This is one of the big problems about hiking in Japan.
By the way, the name of each tree ends in the Japanese word ‘sugi (杉). This simply means ‘cedar tree’.
Finally, I have to mention: everything on this page is for general information only. It definitely isn’t official advice. Please take this route at your own risk. Take all necessary precautions.
Start here …
The trip starts from Wakasgirakuen Camping Ground (Google Map location). If you are driving you can input the map code 55 634 741*00 into your SatNav GPS. Photo 1 below shows the entrance to the car park and camping ground. You can camp in Wakasgirakuen Camping Ground (the clue is in the name) or park a camper van there overnight. We just used it as a car park. There is a nice view, one vending machine, some toilets, BBQ area and nothing else.
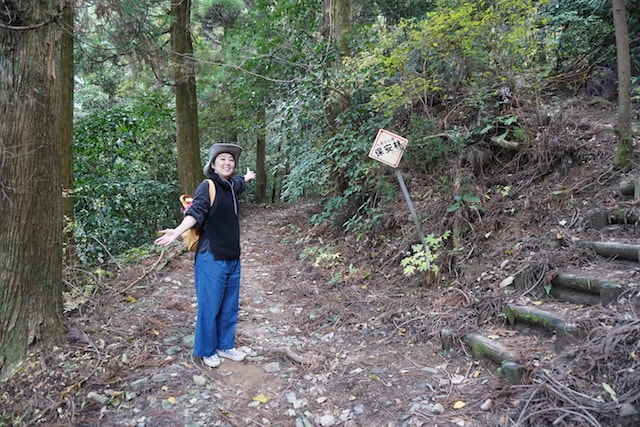
Leave the camping ground (from the entrance shown in Photo 1) and go back to the road. Go straight ahead downhill (Photo 2). Walk along the road for 100-200m until you see the signboard on the left (Photo 3). That signboard shows the walking route but of course it’s written in Japanese.
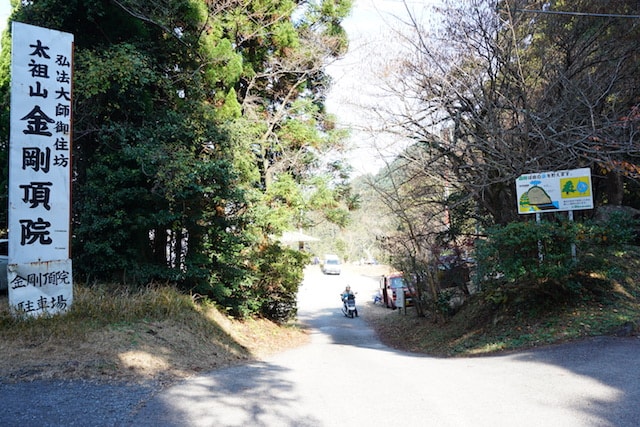
Photo 1
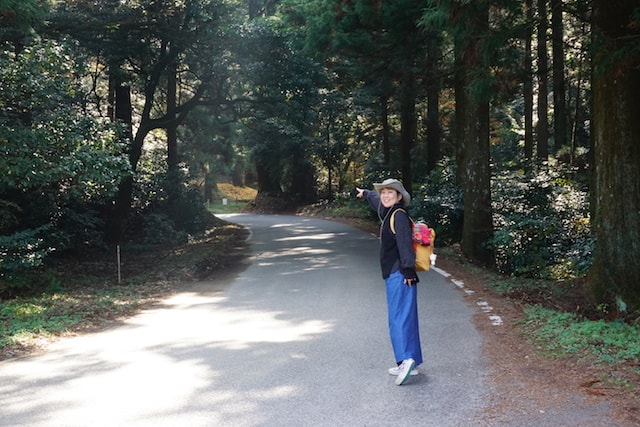
Photo 2

Photo 3
Follow the pointer behind the signboard to start the walk (Photo 4 & 5).
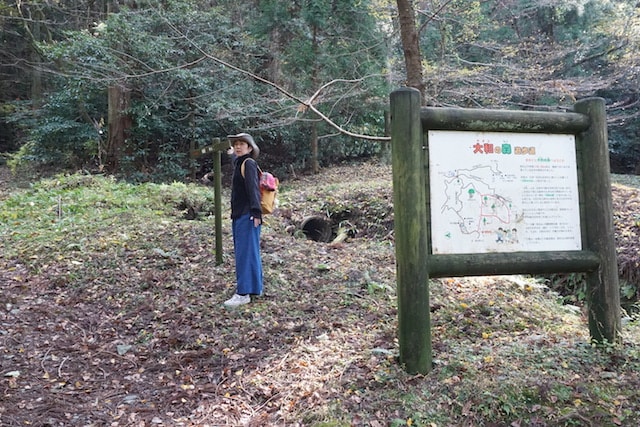
Photo 4
Photo 5
Soon you will come to your first junction. Turn right (Photo 6 & 7).
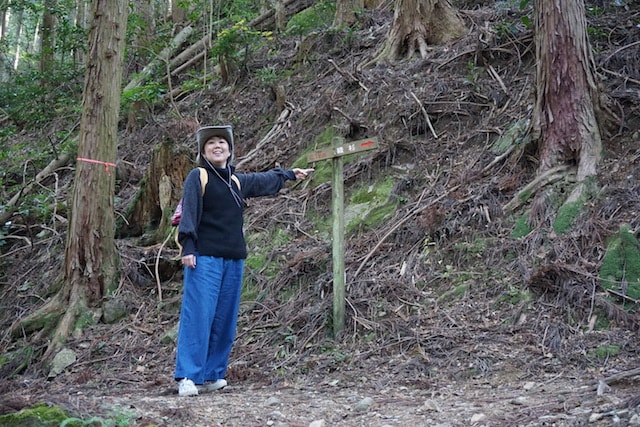
Photo 6
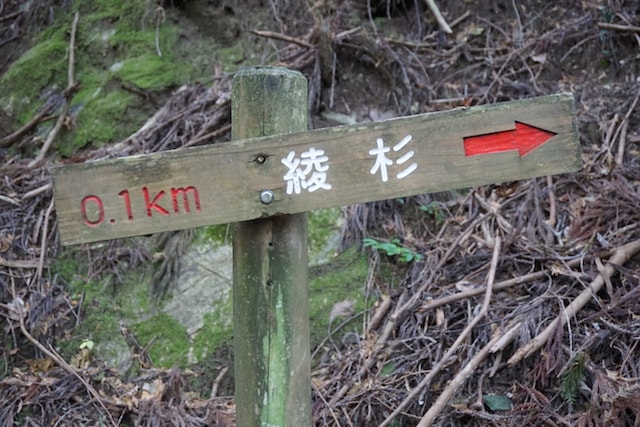
Photo 7
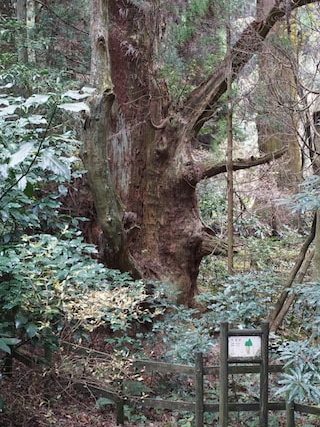
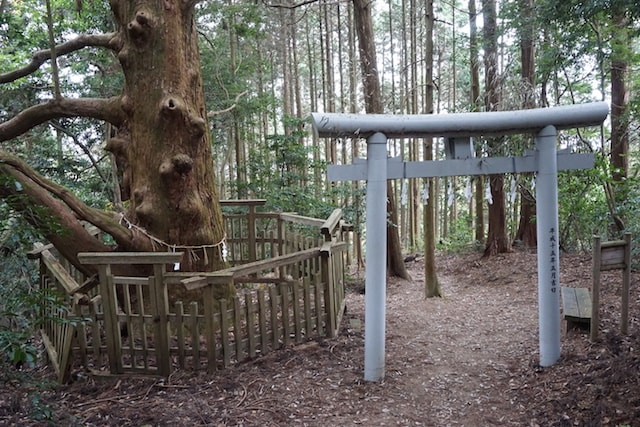
Continue along the path and pass through the grey Tori gate (Photo 8). The gate is next to the first big cedar tree; ‘Aya Sugi’ (綾杉). You can see a photo of this tree at the end of this description because you will pass it again on your way back.
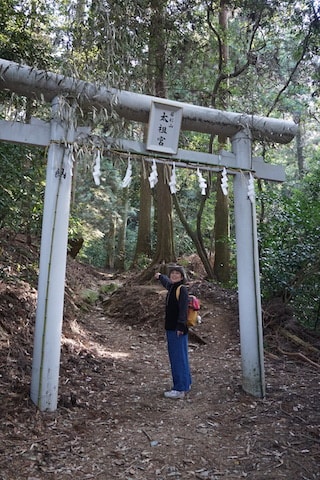
Photo 8
At the fork in the path take the right path (Photo 9 & 10).
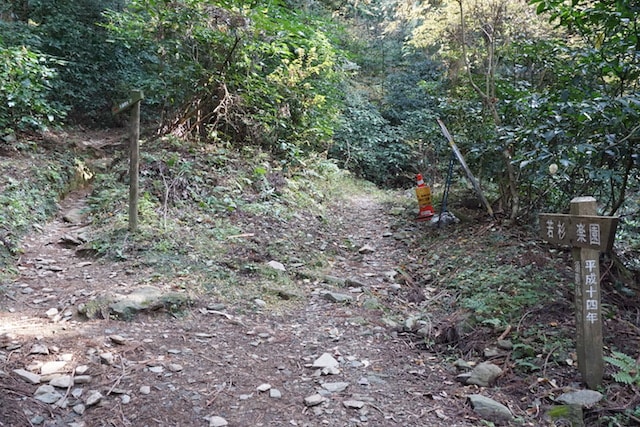
Photo 9
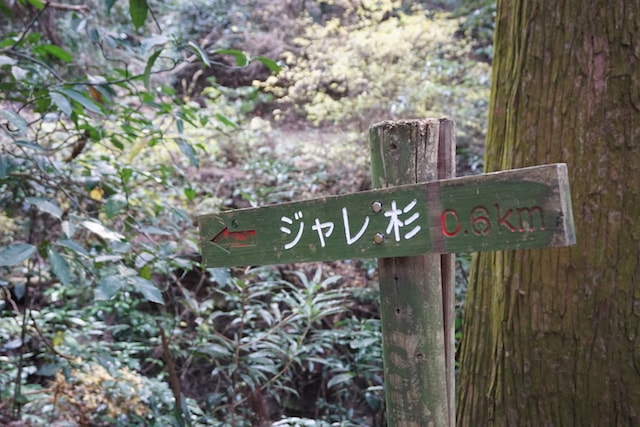
Photo 10
Pass by the next huge cedar; Tohda Futamata sugi (トウダ二又杉). In case you somehow don’t notice this enormous tree, there is a signboard there. This shows the tree’s great size. It’s an impressive 30m tall with a circumference of 6.9m (in fact it will have grown a bit bigger by the time you read this).
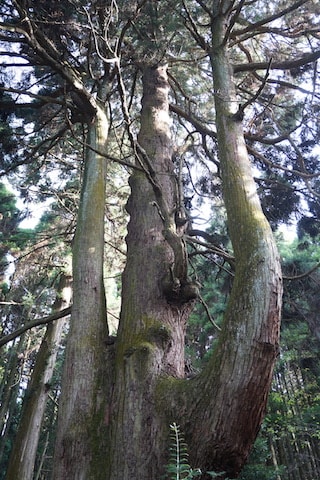
Tohda Futamata sugi
Turn right when you come to the big rock (Photo 11). By the way, have you noticed the red tape on some of the trees? This will help if you get confused along the route. Continue up the steps (Photo 12). Turn right when you see the next set of steps (Photo 13).
Note: If you are feeling lazy you can walk straight ahead instead of climbing the steps in Photo 13. This just means you miss visiting one of the big cedar trees. You can just continue from Photo 18 instead.
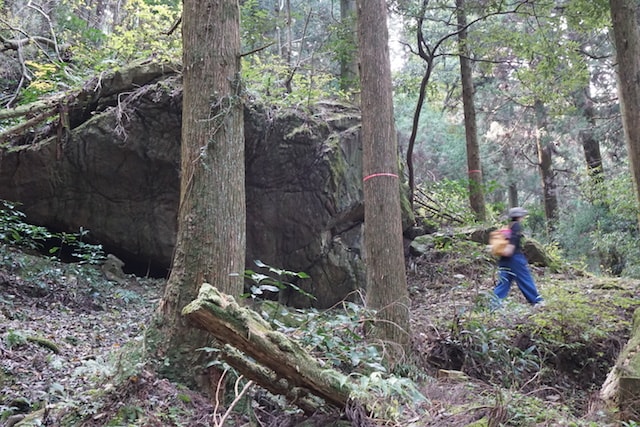
Photo 11
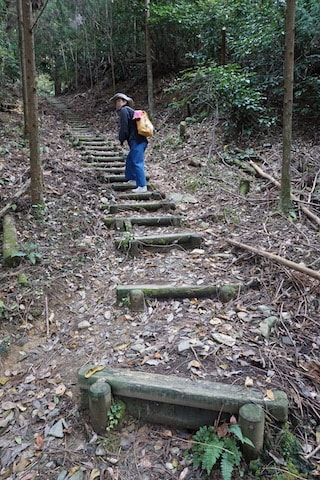
Photo 12
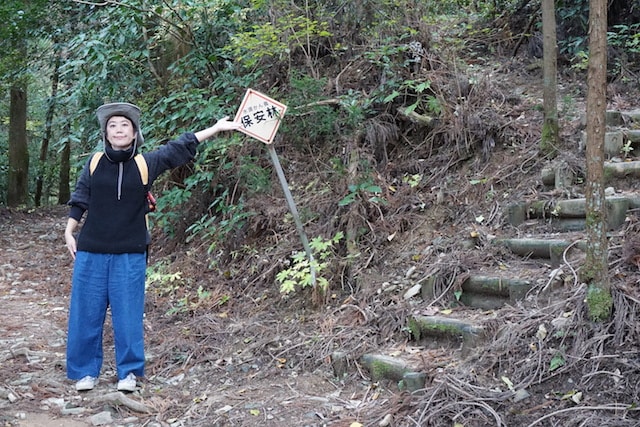
Photo 13
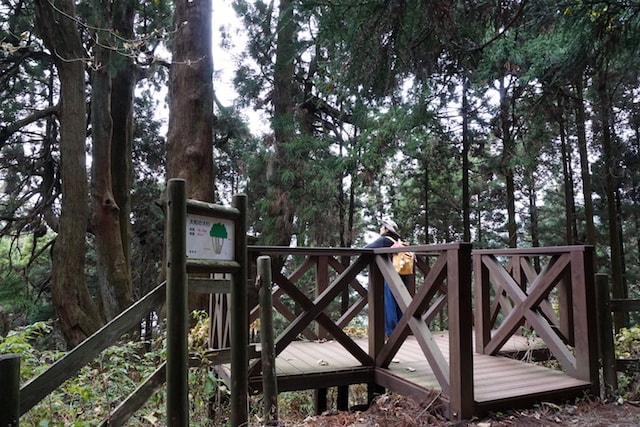
Climb up the steep set of wooden steps (they look like concrete but in fact they are wood) in Photo 15. A bit further ahead you will find the next big cedar tree (Jare sugi ジャレ杉) and a nice view over the forest.
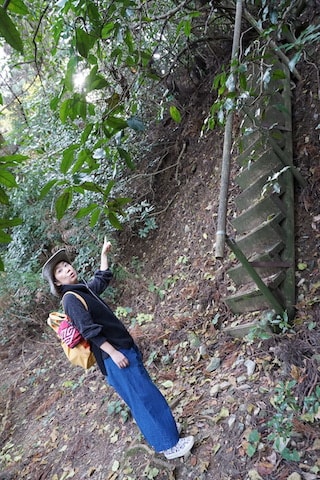
Photo 15
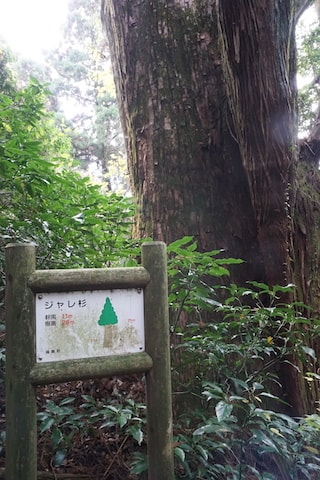
Jare Sugi
Go back the way you came and continue along the path (Photo 18)
Continue until you come to a bench and take the path heading down on the left (Photo 19). It gets quite steep as it zig-zags down (Photo 20).
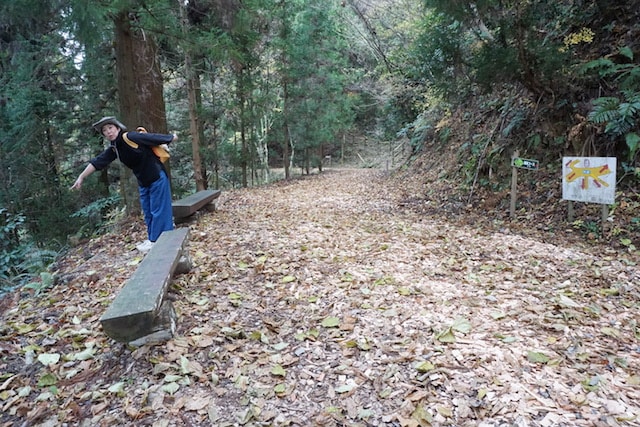
Photo 19
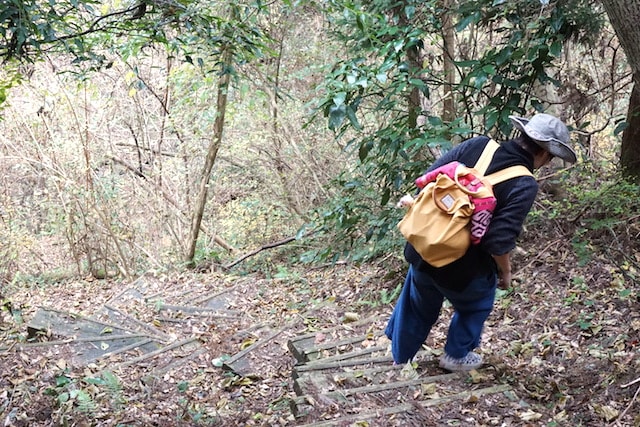
Photo 20
At the next junction (Photo 21) you’ll see a sign pointing to the right for Yamato no oh sugi (大和の大杉) and to the left for Aya sugi (綾杉). The first kanji character in Yamato no O sugi (大) means BIG. And it is. Take a short walk to the right to see this impressive 40m tall cedar tree. Then come back to the sign and continue left towards Aya sugi (綾杉). Actually, you’ve already seen Aya sugi. You passed it at the start of your walk (it’s the tree next to the grey Tori gate).
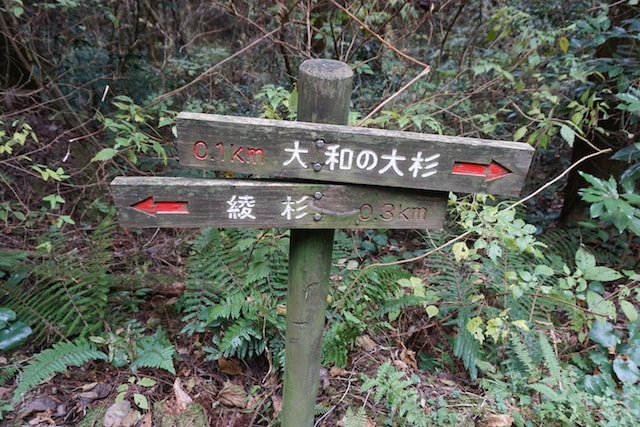
Photo 21
Yamato no oh sugi
As you start walking left you’ll pass Nana mata sugi (七又杉). Hope all these ‘sugis’ aren’t getting too confusing.
Nana mata sugi
After a nice downhill stretch you reach a familiar place (Photo 22). It’s the junction you passed through earlier in the walk when you took the right fork at Photo 9. Here you are again after walking in a very pleasant circle. Continue down and pass though the Tori gate and pass by Aya sugi again (綾杉). Finally don’t miss the turn down to the right (Photo 23). And voila! You’ll be back to the road where you started. Then you don’t need me to tell you turn right to walk back along the road to the camping ground. By the way, if you continue along the road past the camping ground, you’ll find a small temple and a shrine. Best of all, you’ll find a drinks’ vending machine too.
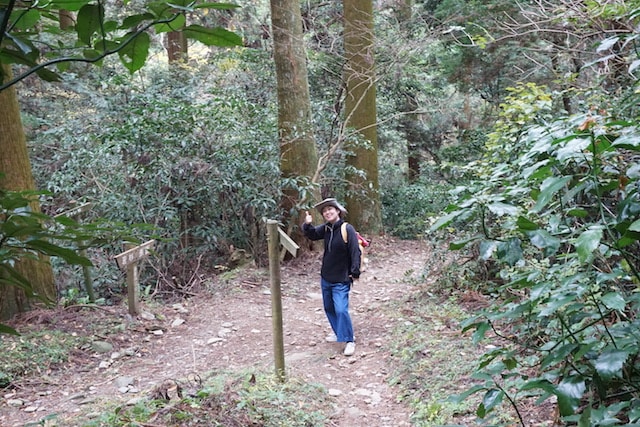
Photo 22
Aya sugi
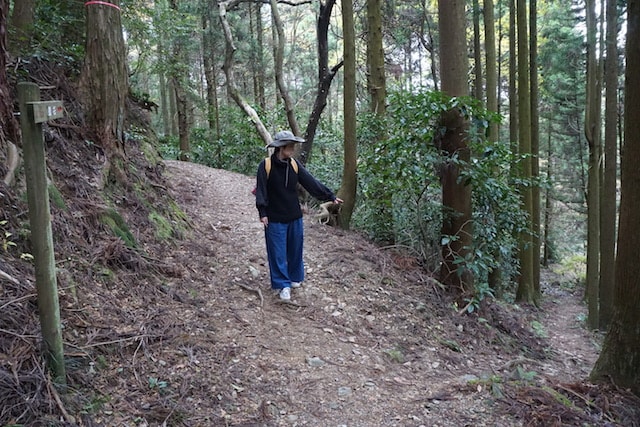
Photo 23
Final Thoughts
Did you enjoy it? Were the route instructions clear enough? Please let us know in the comments below. We can only learn if you share your experience.
Also leave a comment if you recommend any other walking routes in Fukuoka or other parts of Kyushu. We’ll add them to our list. As time permits we’ll take more walks and add them to this website. Follow us on Facebook to know when we release new route descriptions.
Help us spread the walking news
Share this description on your social media if you think others might find it useful. Feel free to link to it from your website but just let us know if you do. Say ‘hi’ in the comments below.
Author’s note
A year ago I had such bad knees I couldn’t walk 30 minutes. Big shout out to my Japanese knee doctor!
Photos
All text and photos by me or Moo. Thanks to Moo for posing as path-pointer in the photos. Contact us if you want us to arrange a Kyushu trip. If you love hiking or walking we will plan an itinerary with as much outdoor fun as possible.
This Post Has 2 Comments
Leave a Reply
More Kyushu info and ideas


Hi, thanks for putting this up. It such a great help to make a plan.
Glad you like it! If you do the walk please comment here again whether the route is still correct otr anything needs updating, thanks!